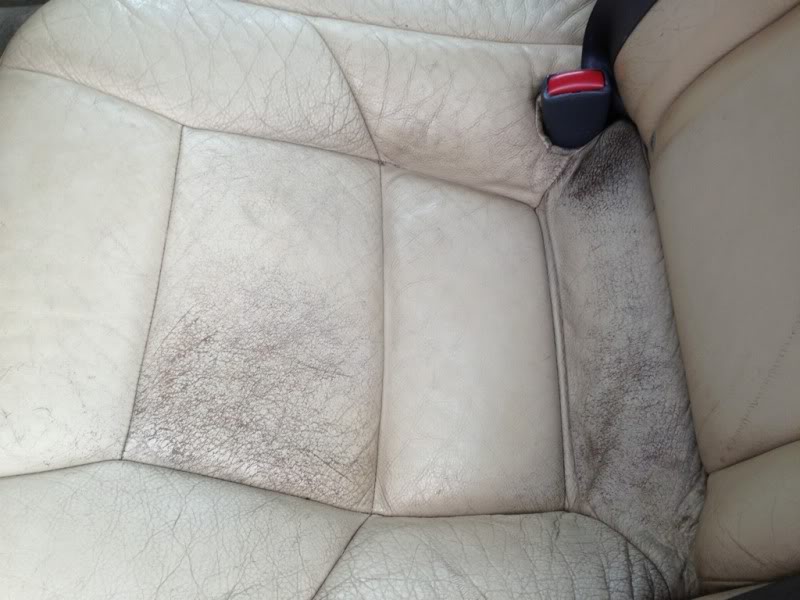
1. CLEAN CLEAN CLEAN! I can't stress this enough. Clean the heck out of your leather even if it looks clean. I'd recently cleaned my leather and thought it was fairly clean but it was shocking what the Leather Finish Preparer cleaner pulled off.
2. Let the leather air out for at least 30 minutes. I waited an hour because it was only in the mid 40's.
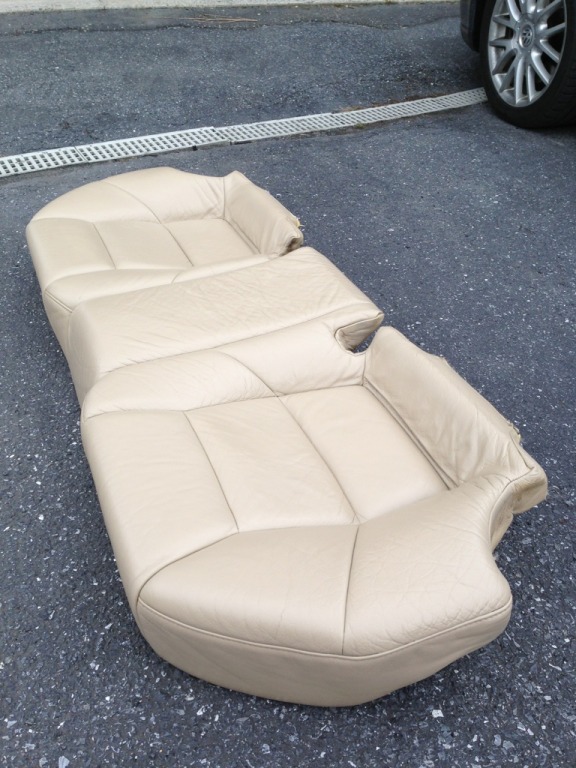
3. Mask off all plastic trim. I ended up removing the rear bottom cushion, unbolting the center belt, and stuffing the side belts behind the vertical side cushions.
4. The fun begins, lightly apply the first coat of dye with a foam brush using uniform brush strokes. Don't worry if it looks blotchy at first! It evens out as it dries and takes a few coats to get good coverage. Wait 20-30 minutes between coats and 2 hours before sitting in them. The recommended time of 5 minutes between coats and 1 hour before use was not enough. Maybe in warmer weather it would be but you can never be too safe.
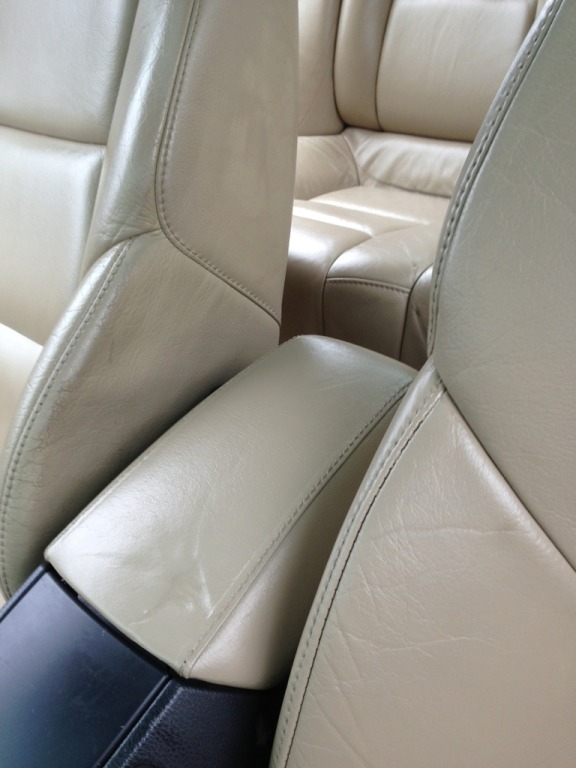
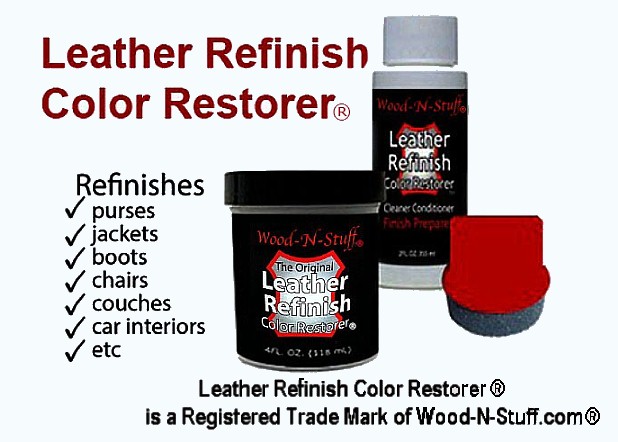
I mixed both 4oz jars together in hopes of a close Gobi match and while its pretty darn close it wouldn't be appropriate for spot work. It didn't bother me because I was doing all seats and door panels. Keep in mind that a little of this dye goes a long, long way. The 8oz of dye was plenty to do 2 thorough coats of the front/rear seats and part of one door panel. I have to order more to do the panels so you'll probably want to pick up 4 jars to do a thorough job or full color change.
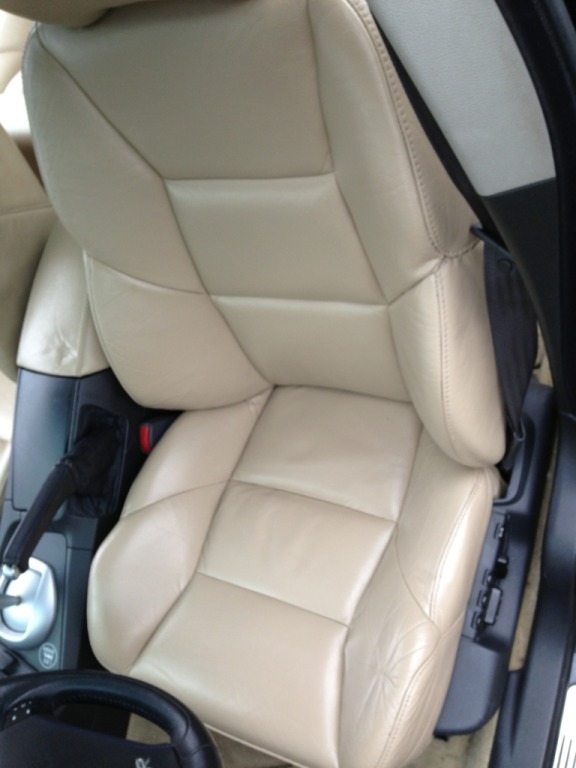
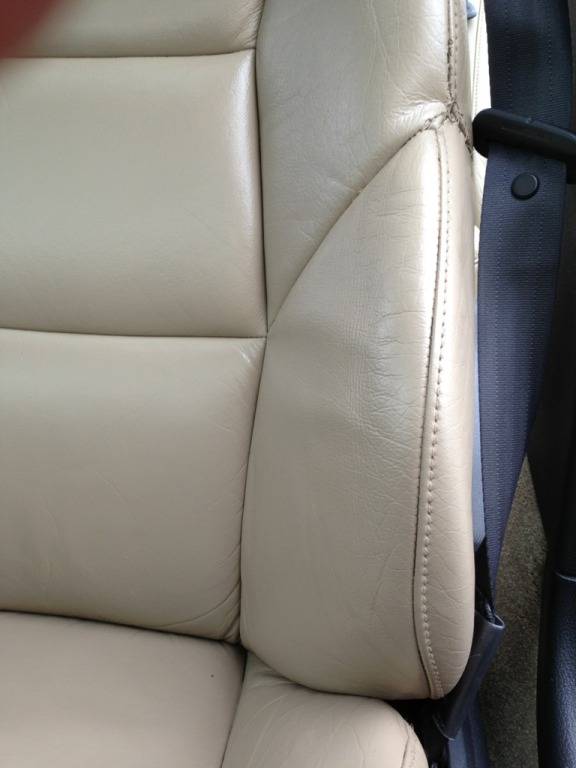
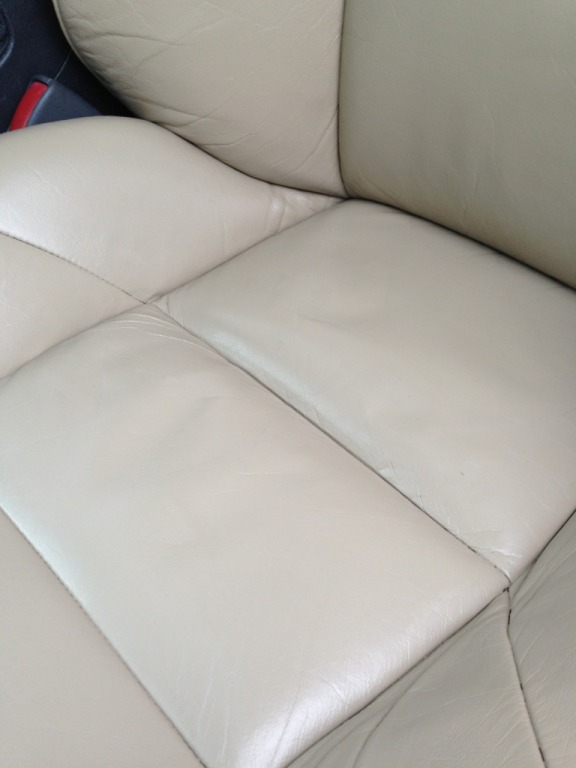
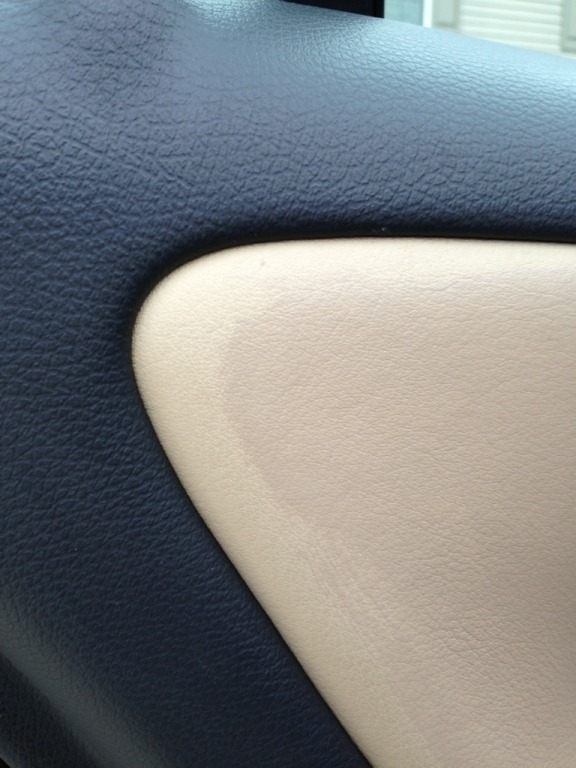
One thing that concerned me was what the leather would feel like. Would it look painted? Would it feel tacky and cheap? Would it retain its flexibility? We'll see what happens over a few days but all initial signs point to good things. The look is pretty natural with the natural grain being retained and after a few hours of dry time the feel is almost identical to pre re-dye.
The big unknown here is durability. While it looks great now I'll keep this thread updated over the next few months of daily usage.
Total cost? Around $75 including the two extra jars of dye I'll be ordering to finish the door panels.
|


 The entire job is very easy and the products are easy to work with.